Using PowerShell to connect to Microsoft Azure

· 2 min read

Microsoft Azure has a good user portal where you can do most things, however when it comes to automation, gathering a lot of information at once and more in-depth scenarios that the Portal doesn’t quite offer – PowerShell is used.

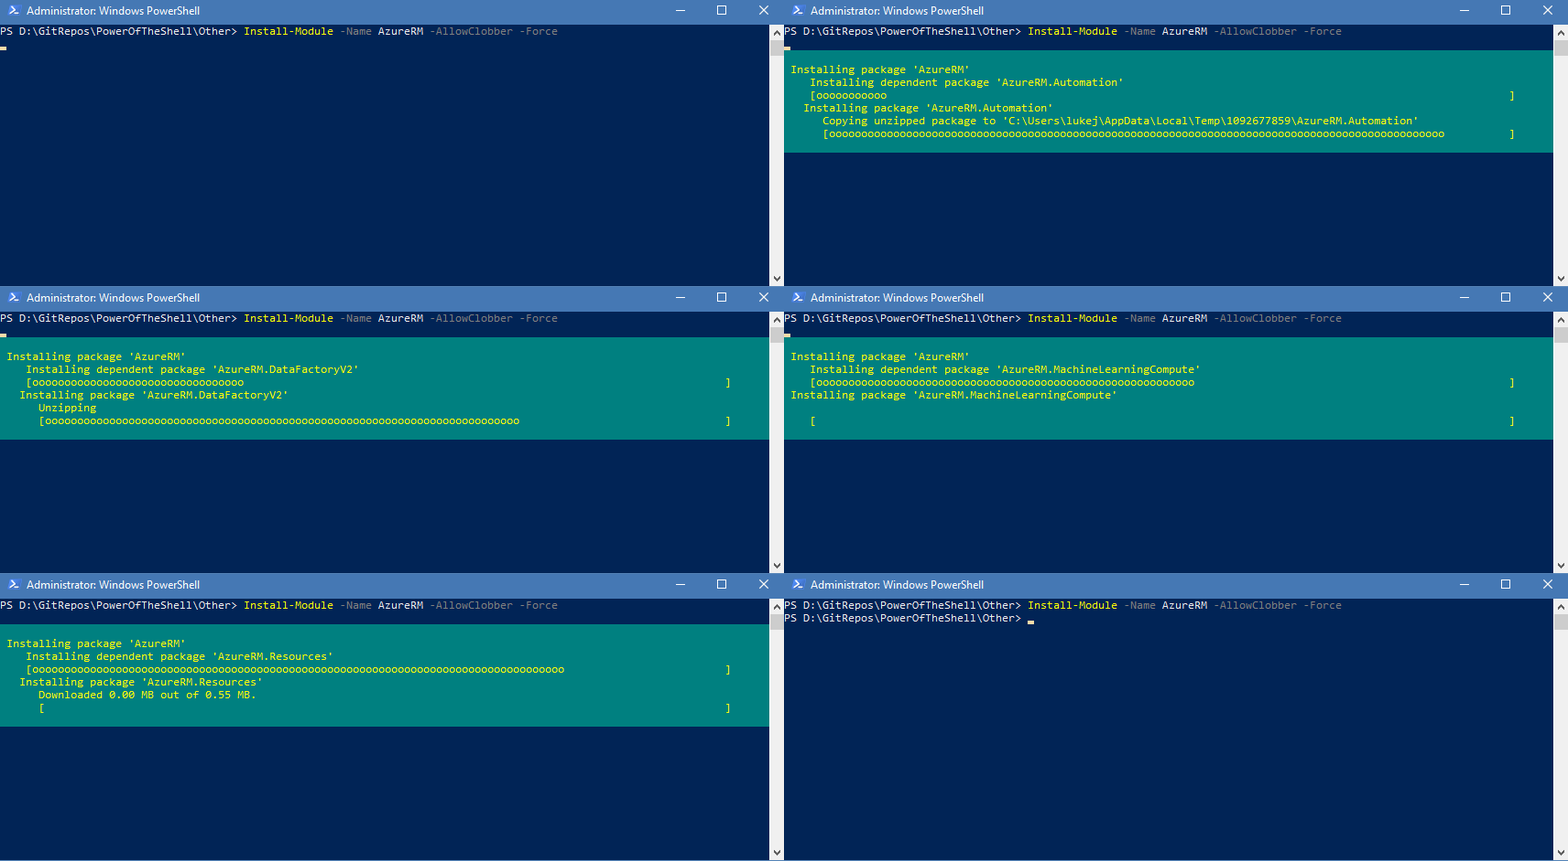
Before you can use PowerShell to connect to Microsoft Azure, you need to install the Azure Resource Manager modules first – follow the guide below:

Disable SMB1

Once the Az modules has been installed – you can now connect to Azure.

Usually you would have to go through the process of logging in to Azure, finding what subscription you need to connect to and then selecting that manually, however I have created a little function that will connect to Azure and automatically populate a list of the subscriptions that your account has access to in a window which you can then select to connect to which makes the process easier without having to remember different Azure subscription names or ids. This function can easily be used in any environment. I have it loaded as part of my PowerShell profile script so the function can be run from the second I open up a new PowerShell prompt.

Note: Script is also hosted on my Github repository. Feel free to clone/recommend improvements or fork.

Stuck at a Black Screen and Connecting on a vCloud console

· One min read

On a computer running Windows 7 x64 SP1 Enterprise running Internet Explorer 11 browser, I had issues connecting to the console of Virtual Machines hosted by VMWare vCloud.

vCloud Console black screen

This was resolved by completing the following:

  1. Adding the website to the Trusted Site list
  2. Adding the website to Internet Explorer’s compatibility list
  3. Updating Java on the workstation to the newest

Capturing Windows boot performance with the Windows Performance Toolkit

· 3 min read

The Windows Performance Toolkit, developed by Microsoft has 3 separate tools and are key to solving a lot of boot and general performance issues:

•    Windows Performance Recorder

•    Windows Performance Analyzer

•    Xperf

Download Windows Performance Toolkit

This can be downloaded by going to the Microsoft website and looking for the latest Windows Assessment and Deployment Toolkit for the operating system you want to analyze – for example: Windows 10

https://developer.microsoft.com/en-us/windows/hardware/windows-assessment-deployment-kit

Download and run, we only need the Windows Performance Toolkit portion of the ADK:

Windows Performance Toolkit

Once installed navigate to: C:\Program Files (x86)\Windows Kits\10\Windows Performance Toolkit

Tip: You can copy the Redistributables folder if you need to install the Windows Performance Toolkit only on another computer.

Run Windows Performance Recorder

We only need too: WPRUI.EXE – Windows Performance Recorder & WPA.EXE – Windows Performance Analyzer.

Run WPRUI to launch Windows Performance Recorder

Change the Performance Scenario to Boot, and File

Select Resource Analysis and click CPU usage

Tip: You can add more: File I/O, Networking I/O, GPU usage etc if you know what in particular may be causing your boot slowness, the more you add the more data and complexity is added. I would recommend to only add additional resource analytics when required.

Windows Performance Recorder

Click Start to select where your boot traces will go and click Ok to start your boot traces, this will restart your computer 3 times.

Tip: If you need to login, please make sure you login quickly during each trace as the longer you leave it unattended the more data and delay it will collect.

Run Windows Performance Analyzer

Once the computer has been restarted 3 times and your traces have been complete navigate back to: C:\Program Files (x86)\Windows Kits\10\Windows Performance Toolkit and click on WPR.EXE to open the Windows Performance Analyzer or click Open in WPA from the Windows Performance Recorder dialog.

The Windows Performance Analyzer will be our canvas in analyzing issues, you can expand areas like System Activity to dig into Processes, Services. Just drag the data onto the Analysis screen to go through it

From here you can drill down into the data to find the cause or improvements for your login time, from here I can see one of the delays of my system is the CortanaUI.

I am running this on a 16GB i7 4GHZ machine running on an SSD so it isn’t really a good example, but have used this in the past to work out that my login was slow because Lync had logging turned on.

Hopefully this gets you through the first steps in diagnosis and resolving your performance issues.

Useful resources

Troubleshooting Windows Internals when unexpected events happen – https://channel9.msdn.com/events/Ignite/New-Zealand-2016/M405

Investigating website performance with Windows Performance Toolkit – https://github.com/MicrosoftEdge/MicrosoftEdge-Documentation/tree/master/performance-analysis/windows-performance-toolkit

Slow Boot Slow Logon (SBSL), A Tool Called XPerf and Links You Need To Read – https://blogs.technet.microsoft.com/askpfeplat/2012/06/09/slow-boot-slow-logon-sbsl-a-tool-called-xperf-and-links-you-need-to-read/
Database error when making changes to DHCP reservations

· One min read

'An error occurred while accessing the DHCP database.'

an error occurred while accessing the DHCP database

One of the issues I have ran into since an upgrade to Windows Server 2012 R2 DHCP servers – was due to multiple processes access the DHCP database when I was attempting to Create or Modify a DHCP v4 reservation.

  1. Adding an exclusion to DHCP.MDB file for Real Time scanning on my antivirus product.
  2. Disabling the Windows indexing service from indexing the DHCP folder.

To disable the Windows indexing service from indexing the DHCP server follow the quick steps below:

  1. Open Windows Explorer – or Computer: on the DHCP server
  2. Navigate to: c:\Windows\System32\DHCP
  3. Click on the General Tab up the top and click Advanced
  4. Uncheck ‘For Fast Searching, Allow Indexing Service to Index this Folder.’
  5. Click Ok

Useful Resources:

Microsoft Anti-Virus Exclusion List – https://social.technet.microsoft.com/wiki/contents/articles/953.microsoft-anti-virus-exclusion-list.aspx

Upgrade MDT 2013 to MDT Current Branch

· 5 min read

Upgrading MDT (Microsoft Deployment Toolkit) is generally not an issue – the main points are:

  • Upgrade the Windows ADK before upgrading MDT.
  • Make sure you have a backup (or can restore to a pre-upgraded MDT) of the Deployment Share – the Upgrade will upgrade the schema of the MDT database – including allowing new ADK features for your Deployment Share.

Now that we have a backup it is now time to go through the Windows ADK (Windows Assessment and Deployment Kit) upgrade on the MDT server and MDT current branch update. Follow the guide below to complete.

Upgrade Windows ADK

I will be using Windows ADK for Windows 10, version 1607 in my example.

  1. Download the latest Windows ADK – https://developer.microsoft.com/en-us/windows/hardware/windows-assessment-deployment-kit and save the setup file to your MDT server.
Windows ADK
  1. If you try to install the ADK without upgrading, you will get the following error:
  1. So open Program and Features and select Windows Assessment and Deployment Kit – Windows 10 and select Uninstall to uninstall the old ADK (in this example I am uninstalling the v1511 Windows 10 ADK).
  1. Select Yes to uninstall the Windows ADK and Close when the uninstall has been completed
  1. Now that the old Windows ADK has been uninstalled you can now launch the new Windows ADK downloaded in Step 1 and make sure Install the Windows Assessment and Deployment Kit – Windows 10 to this computer is selected and the install path is correct and click Next
  1. You can either select Yes or No to allow Microsoft to collect usage data – I am just going to select No and click Next to proceed with the install
  1. Click Accept on the license agreement

  2. You will now get greeted by a dialog for installing the features of the Windows ADK – you need: Deployment Tools, Windows Preinstallation Environment (Windows PE) and User State Migration Tool (USMT) and select Install

Windows ADK
  1. Once the Windows Assessment and Deployment Kit installation has been completed, restart your MDT server (this is not required – but I prefer to do it to make sure any registered DLLs or registry changes have taken affect and it is in a clean state).

Upgrade MDT

  1. Now that the Windows ADK has been updated – it is time to download the Microsoft Deployment Toolkit – https://www.microsoft.com/en-us/download/details.aspx?id=54259 by selecting Download
MDT Download
  1. We are upgrading the x64 version so select this and click Next (same process for x32 – just download that instead).

12. Select Run to start the install

  1. You will now have the Install Microsoft Deployment Toolkit Setup wizard – select Next to start the install
MDT install
  1. Accept the License Agreement and select Next
  1. Make sure that Microsoft Deployment Toolkit – Documents and Tools and Templates are select and the install path is correct (matches your current MDT install) and click Next
  1. Select Yes or No to joining the Customer Experience Improvement Program and select Next

  2. Finally – click Install to start the MDT install

  1. Once installed click Finish

  2. Open the Deployment Workbench

  1. It should automatically have your Deployment Share listed under Deployment Shares – if you will need to click File, Add Deployment Share to add your deployment share. Right click your deployment share and select Upgrade Deployment Share
Upgrade Deployment Share
  1. Verify that the information is correct and click Next to start the Upgrade
  1. This will start the upgrade of the Deployment Share
  1. Once the Upgrade of the Deployment Share has been completed – it is time to upgrade the Boot Image

  2. Right click your Deployment Share again – and instead of Upgrade, there will be Update. Select Update Deployment Share

  1. You will be greeted by the Update Deployment Share Wizard – select completely regenerate the boot images and click Next
Update Boot Image
  1. You will then be forwarded to a review page, verify the permissions are correct and click Next to start regenerating the boot images.
  1. Once completed you are finished. You have now hopefully successfully upgraded the ADK, MDT and Boot Images.